Wednesday, September 11, 2019

Journal Cards and Faux Postage Stamps.


For my background I typed random words on my typewriter in English and German, and I added little tug spots. I also used my postage scissors for the border.


These are my faux postage stamps. I used cut apart Rolodex cards.


These are fun to make.
Renate

Tuesday, September 10, 2019

Little Booklet.


Liz the paper project has a tutorial on how to make these little booklets.


I dyed some fabric with food coloring for the closure. I also wrote words on the cardstock before putting it together.


I like to use old negatives to add to my layouts.


On the left you have 2 pockets. On the right there are also 2 pockets, that flip.


I didn't want to add too much to these pockets. Sometimes less is more.


Here you can see the pockets flipped.


You have a big pocket and on top of it I added another pocket. My husband got me recently a used typewriter from the 50's, at a thrift store. I love using it.


The tag for the big pocket. As I was dying my fabric, I used cardstock to press on top of it to get some images of color.


On the back I just glued a bag I made.

This is the insert for it.
Thanks for the inspiration Liz.
Renate

Wednesday, August 14, 2019

Beach themed Perpetual Calendar.


I wanted to make a different kind of perpetual calendar for my daughter's birthday. So this is my design. The crate measures 71/2 inches tall and 6 inches wide. I made everything from scratch.


On the left is an actual shell we found at the beach. And the wood piece is driftwood from Jekyll Island.


The blocks are 2x2 inches. They fit perfectly on the swing.


On each block I used one number where I added an old film strip under it.


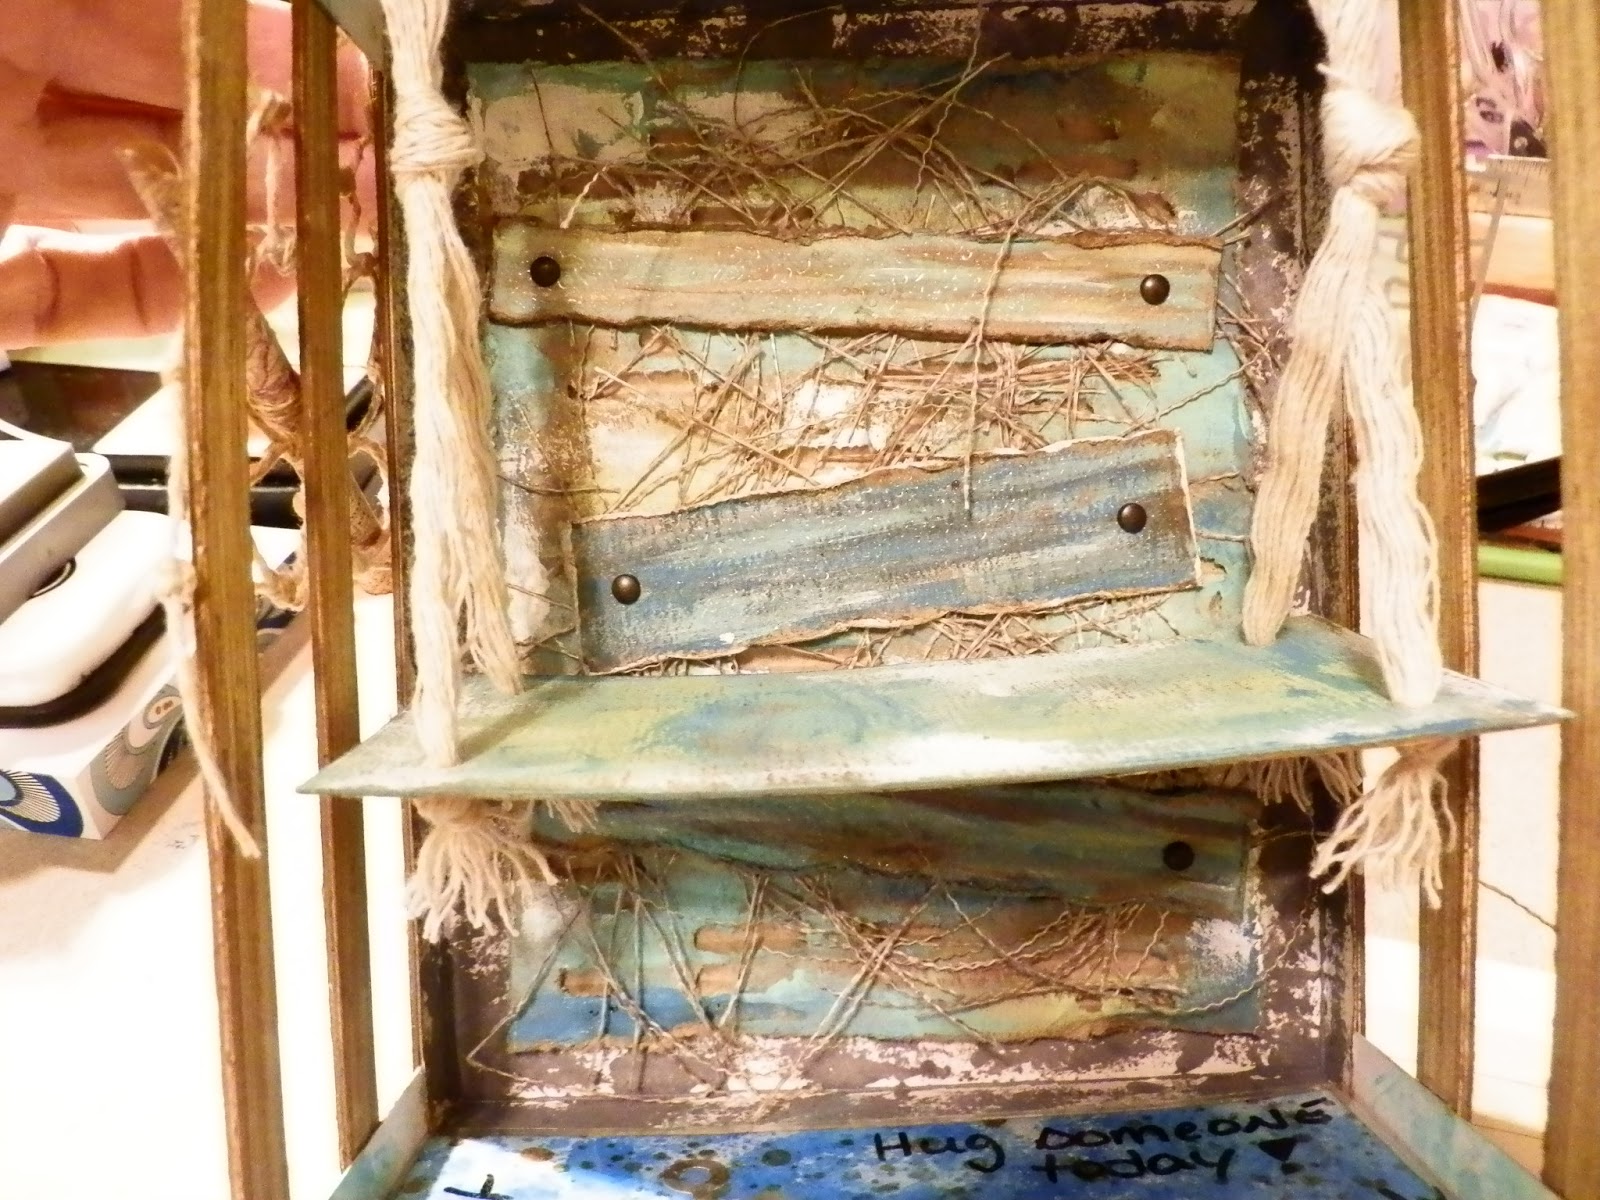
On the inside I took a piece of corrugated cardboard and peeled part of it off, then painted it. On top I added some loose string, which is held by my faux wood planks. On the wood planks I added some brats. Here you can also see the swing.


I tried to figure out how to add the months and days to my project. So I came up with this idea. I just laminated some paper. This way you can write notes, the days and months with a dry erase marker, and wipe it off easily.


Or you can use the other side too.


Here you can see another wood plank on the bottom.


I made the fishnet and just draped it over part of the crate.


I stuck a little rolled up map on the side of it.


This is where I placed the laminated piece.


And just a few more views of the whole project.


Sorry about the lighting. It's too hot and humid to take pictures outside.
I have been using the calendar, to see if it "works". I'm quite happy the way it turned out.
Now I have to make me one!
Renate

Faux Rust Tags.


Eva at Bohamian Crafting has a tutorial on how you can make your own faux rust tags.


I didn't have the dies shes got, so I used what I had. For the little tag, I had a tab stamp. I just used it to make a template and then just cut out my tab.


For the bigger tag I just used a die and cut it in half. I used eyelets and a chain and charm for this one. For the pocket I used my round die and mini brats.


On this one I used different colors so the result was a bit darker. I used copper embossing powder for the holes.

On the pockets I also used copper embossing powder over punched circles.


To tie it up I used fabric instead of a chain.


These are easy to make and no 2 are alike.
Renate

Friday, July 26, 2019

Window Pocket for my Journal.


Attic Lane on You Tube had a tutorial on how to make these window pockets. I loved the color theme she used. So I used my stamps in these colors.


I also made my pocket in one piece. Mine is a 4 x 8 inches Score 1/2 in down the long sides and at 4 inches at the center. On the back panel you just remove the 1/2 inch panels on both sides. That leaves you with the 1/2 inch panels on both sides of the front, which you will just fold and glue to the outer back panel.


I also made the tag the same way.


This is a page of the journal/album I'm working on.
Renate