Monday, November 25, 2019
Faux Tea Bag Journal Card.
Charlotte Peterson has a tutorial on how to make these. Hers are quite beautiful. I don't have tea bags, so I make my own out of coffee filters. That's why I call them faux tea bags.
In the front of my tea bag I added a little ticket pocket. For my charms I used mini playing cards and stamps and book pages.
I made this moon tag with a tug spot.
Here's a close up of my charms.
I used scrap paper for my envelope made with the EPB. On the right I made a copy of a mixed media booklet I made, and used part of it.
For the inside and outside, I sprayed a stencil and some book pages. The left side is for journaling. On the right side is an altered junk mail envelope.
The insert is a 2 sided rolodex card.
I chose to leave the back like it is.
These make a great addition to any journal.
Renate
Tuesday, November 19, 2019
My Vintage and Rustic Advent Arrangement Design.
This year I chose a totally different design for my Advent arrangement. My brother, Mike, cut all the wood pieces for me and did the cutouts for the tealights. I started out with a metal tray for my base. I added different cloth to lay on the tray... but I just was not happy with the look. So, one night I came up with the idea, of making just 3 different lengths of wood pieces as my base. I mod podged old book pages to the boards to kind of make it look vintage and rustic.
The red and white candle holder is just a cut down 4x4. (I've seen a similar block on Pinterest) I painted the whole piece red, and then taped it off and added the white. After it dried I used sandpaper, going from side to side, to give it the distressed look. Also, be sure and use a different sandpaper for each color. I love the way the wood rings on top still show. I had an old bike, that I thought fit perfectly to the theme I was going for.
I did not totally cover my wood base in paper, since I wanted some of the wood to show thru.
This plastic ornament I covered in Christmas tissue paper. I just took a piece of fabric to set it on.
In this ornament I added old book pages, string, fabric, mini spool and other stuff to make it look vintage. Also I just sat it on a piece of fabric string.
I used twine to tie around the block.
On the left, in the back, I made a little box covered in tissue paper.
I enjoyed putting this Advent arrangement together. I hope you draw some inspiration from it.
Renate
Tuesday, November 5, 2019
Flip-out Booklet.
This is a tutorial I've seen from Gi Kerr. It's a flip-out booklet #2. This is my front side of the booklet. I attached 2 mini spools to the end of my closure. I also choose some random pieces of paper I had stamped and painted.
When you open the booklet, you have an add on, that I found at Bohamian Crafting.
You flip it open, and on the left you have a tag, and on the right an envelope with a window.
Then you fold the tag back over to the envelope and flip it up.
Here you can see the backside of the envelope. I colored and stamped this envelope before I put it together.
On the right side I added a Tim Holtz cut out that I attached to a pocket.
Here are some of the inserts I made for it.
Then you close the booklet, and flip it to the back side. I altered a vellum envelope and added 2 circles to hold it in place. This way it also holds the flap shut.
Here you can see it a bit better.
Then you open that flap, and you have 2 pages.
I took a playing card and tore it apart and used it as part of this 3 pocket page.
On the right I made some journaling cards.
This is a journal puzzle piece card. Over at Al John you can find the tutorial. To the right of this page should've been a flap, but I didn't want it, so I left it off.
Here is the front again without the string.
Here you can kind of see the construction.
Thanks for the Ladies and their great tutorials. Renate
Thursday, October 31, 2019
Altered Paperclips with Hidden Pocket.
Attic Lane has a great tutorial on how to make these paperclips. I stamped my own pattern on some white cardstock.
This one I made a bit taller, so I could fit a Rolodex card inside, and I added a tab with the EPB. On the border and the anchor I used some UTEE.
The Rolodex card I had to shorten about 1/8 of an inch on both sides.
On this one I added some sewing on the top and bottom.
I added eyelets on both to add some charms. These are easy to make and make a nice addition to any journal. Renate
Sunday, October 20, 2019
Loaded Envelope.
I had fun putting this project together. In the front pocket I have a vellum shaker tea bag and a vellum envelope with goodies inside.
On the left is an envelope and on the right 2 journal cards. I like to alter old receipts and use them as journal cards. I also made the journal card on the far right.
For the base of this vellum pocket, I used old book pages. I stamped the front of the vellum pocket with a post card stamp I have. (I've seen a tutorial for that, but can't remember who it was.)
On the inside is another journal card.
On the top I just typed some words, that can be cut apart to use, and I made some more journal cards.
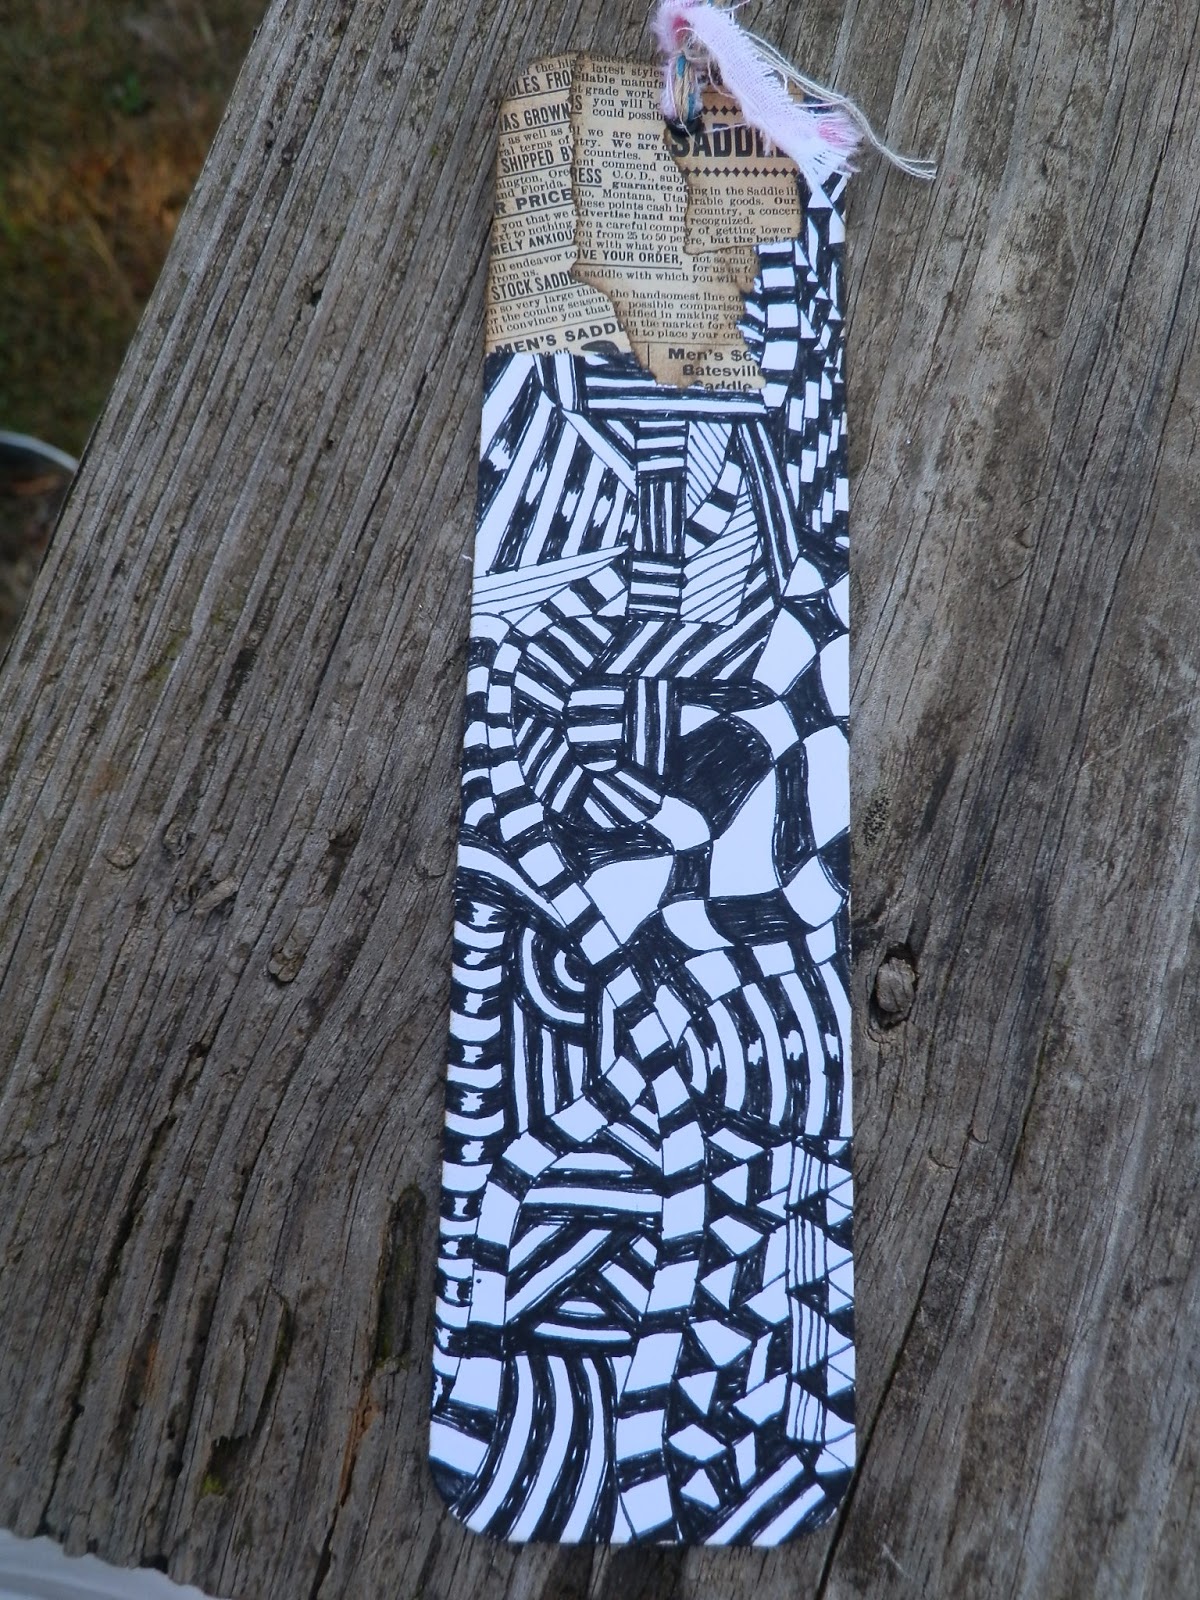
Here I made a Zentangle bookmark.
I filled a vellum pocket I made with some more goodies.
I will be making another one... not hard to do. Renate
Subscribe to:
Posts (Atom)