
You can find the tutorial at: WhichCraftDoYouDo.

I made the little number charm and added my film strip and some lace on this one.


Thanks for the inspiration. Renate
You can find the tutorial at: WhichCraftDoYouDo.
I made the little number charm and added my film strip and some lace on this one.

It is cold here today, in the foothills of N.C. But David, my husband, and me went out in the cold to take these pictures. I just think that the pictures turn out better outside.
My boxes are 2x2 inches. For the frame and the horizontal pieces I used cardboard. For the vertical, I used some scrap fabric, that I threaded thru the holes I punched in all 6 levels. I used some beads that I tied to the bottom outside for each vertical row. Then on top I just tied it to a stick.

It was a bit of a challenge to find different ways to use numbers.


I also used my typewriter, stamps and a lot of scraps.


I found a great tutorial at Scrapqueen, on how to make these suitcases. Her Suitcase is quite beautiful. She made hers much bigger. I wanted a smaller version, so I gave it a try.

This was my first try, a 5x6 inch suitcase. I chose a charm I made instead of a handle.

Here you can see the side view. I was very pleased that the top and bottom matched up quite well.

I made my own hinges from silver tape and cardstock.


I used rings as my closure.

I added a pocket to the inside lid.

This is a view of the inside bottom.

Then I decided on making a smaller one, 4x5 inches. I like this size better. I just made a simple wrap around closure. I also made a candy charm to add to the end.

I made the faux leather straps and added faux vintage papers on top.

Here is a side view.

Here I used real hinges.


On the front inside bottom, I decided to add a "lip". This made a lot of difference in keeping the whole suitcase lined up.


They actually look great stacked up. Mango, our cat had to be in the picture. 😃


This will be my last project for the Halloween edition. This bag is about 4 3/4 inches tall and on the base it's 3 1/2 inches long and 1 1/2 inches wide. I scored it at 3/4 inches on all 4 sides.

I stamped my own design for the top and bottom borders.
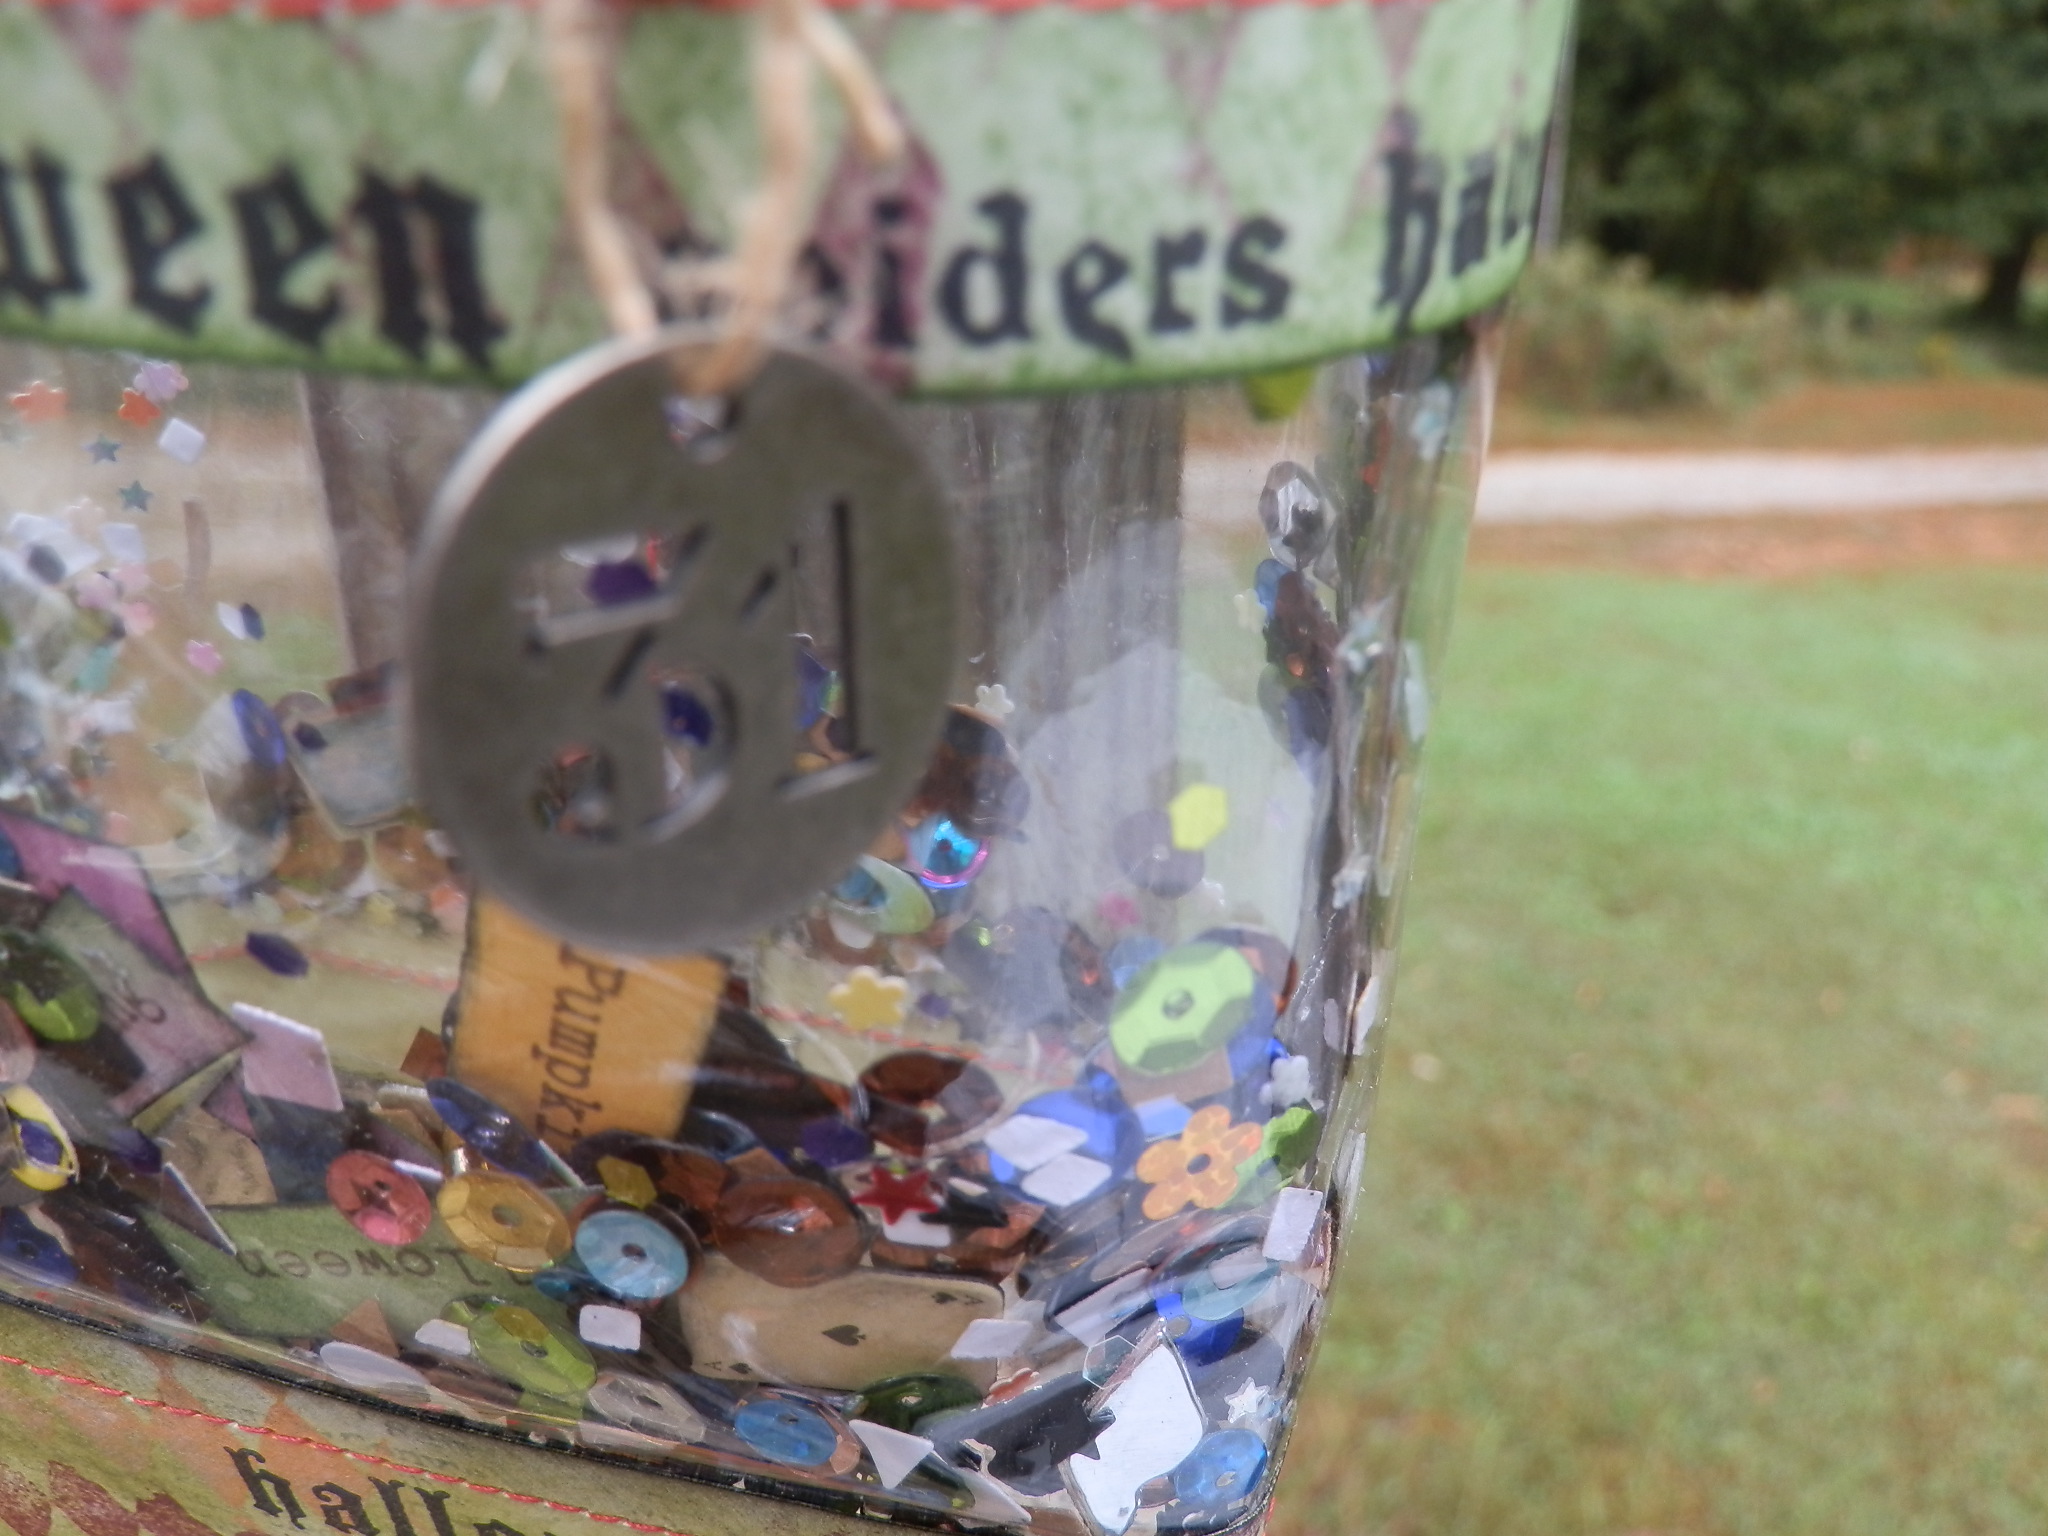

On the back I used staples to secure the flaps together.

I typed some word tags to add to the mix. I got a little carried away with the filling 😃. But you can never have enough shaker bits I think.


I made my bottom border 1 1/2 inches tall. The base is 3/4 inches tall. When I sew the vinyl to the border, I measure 1/2 inch up the vinyl. This way I have enough cardstock border left to glue to the base and not have to glue the vinyl to it. I hope that made sense.


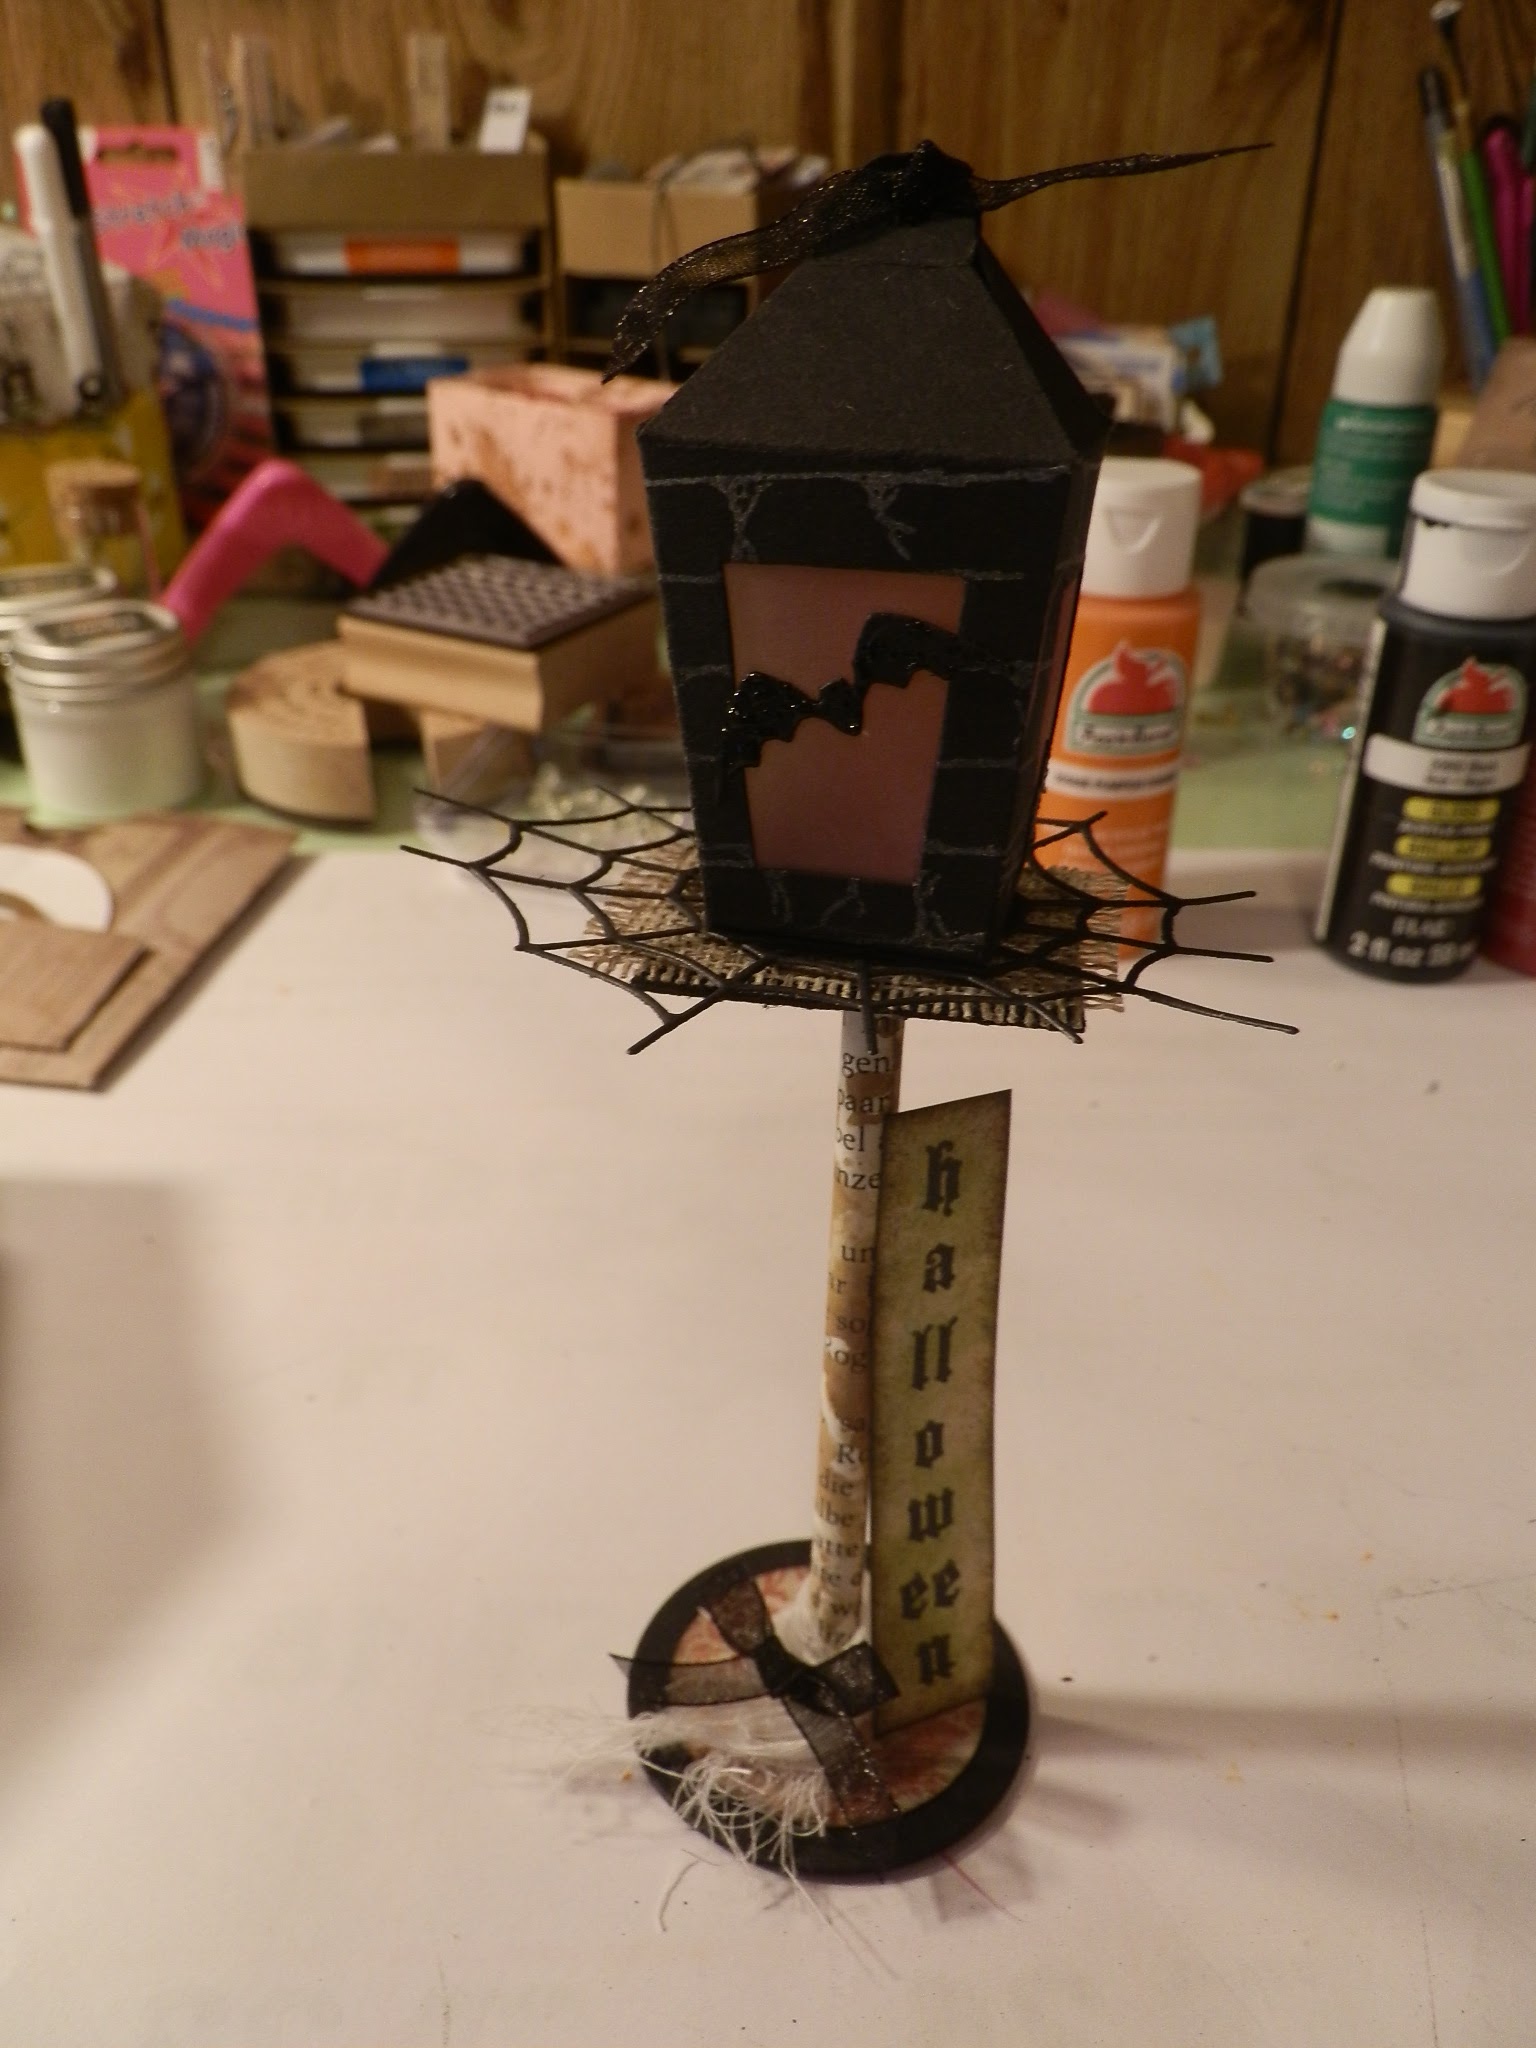
I got the idea from BBz Kaftz. My lamp post is about 6 1/2 inches tall. I found a template for a lamp and reduced it to the size I wanted it. The rest I just figured out on my own.

I added a Halloween sign to the side. It just stands against the post.

For the base of the lamp I used several pieces of cardstock, glued together. On top some burlap and on top of it a spiderweb die cut.


For the post I rolled up some book pages. On the inside I added a wooden skewer to make the post stronger.

For the post base, I also glued together several pieces of cardstock. Since I used rolled up book pages, I was able to flare out the bottom and glue it between my layers. I did the same for the top.

I colored my windows with different colors and added die cuts.
Renate

I made one more box. For this one I made my own template. Here I already added the acetate to the top.

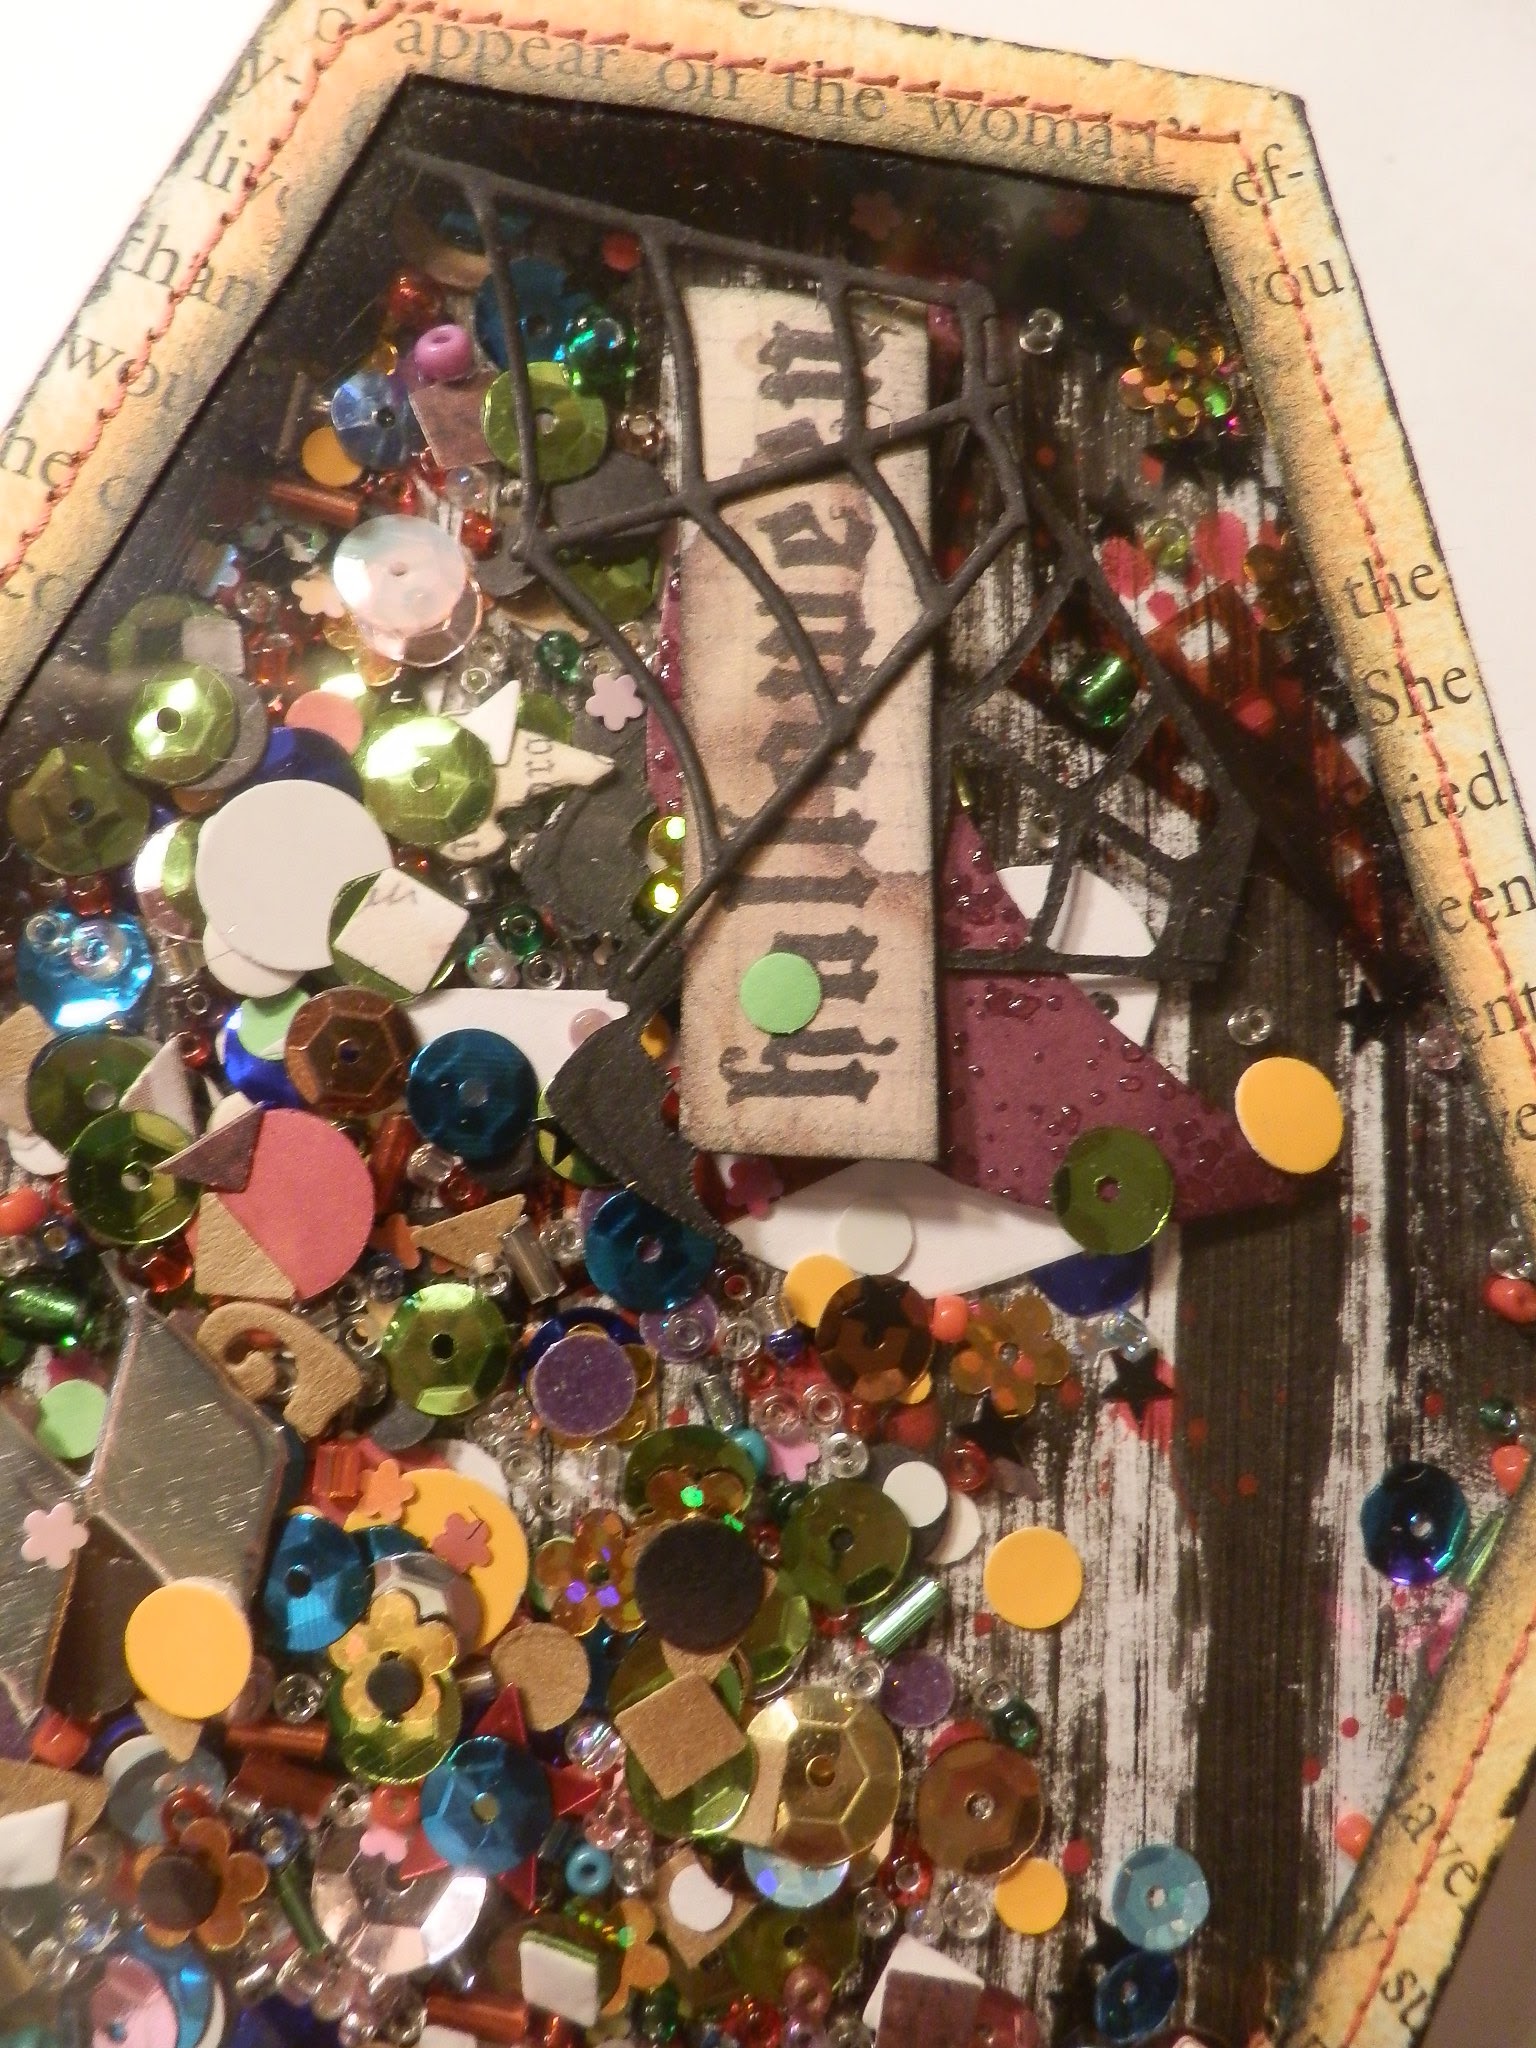
I took a few pictures from the inside of the top, so you can see where I added the shims on the sides all the way around. They are a 1/4 inch high, so you have plenty of room for shaker "stuff."


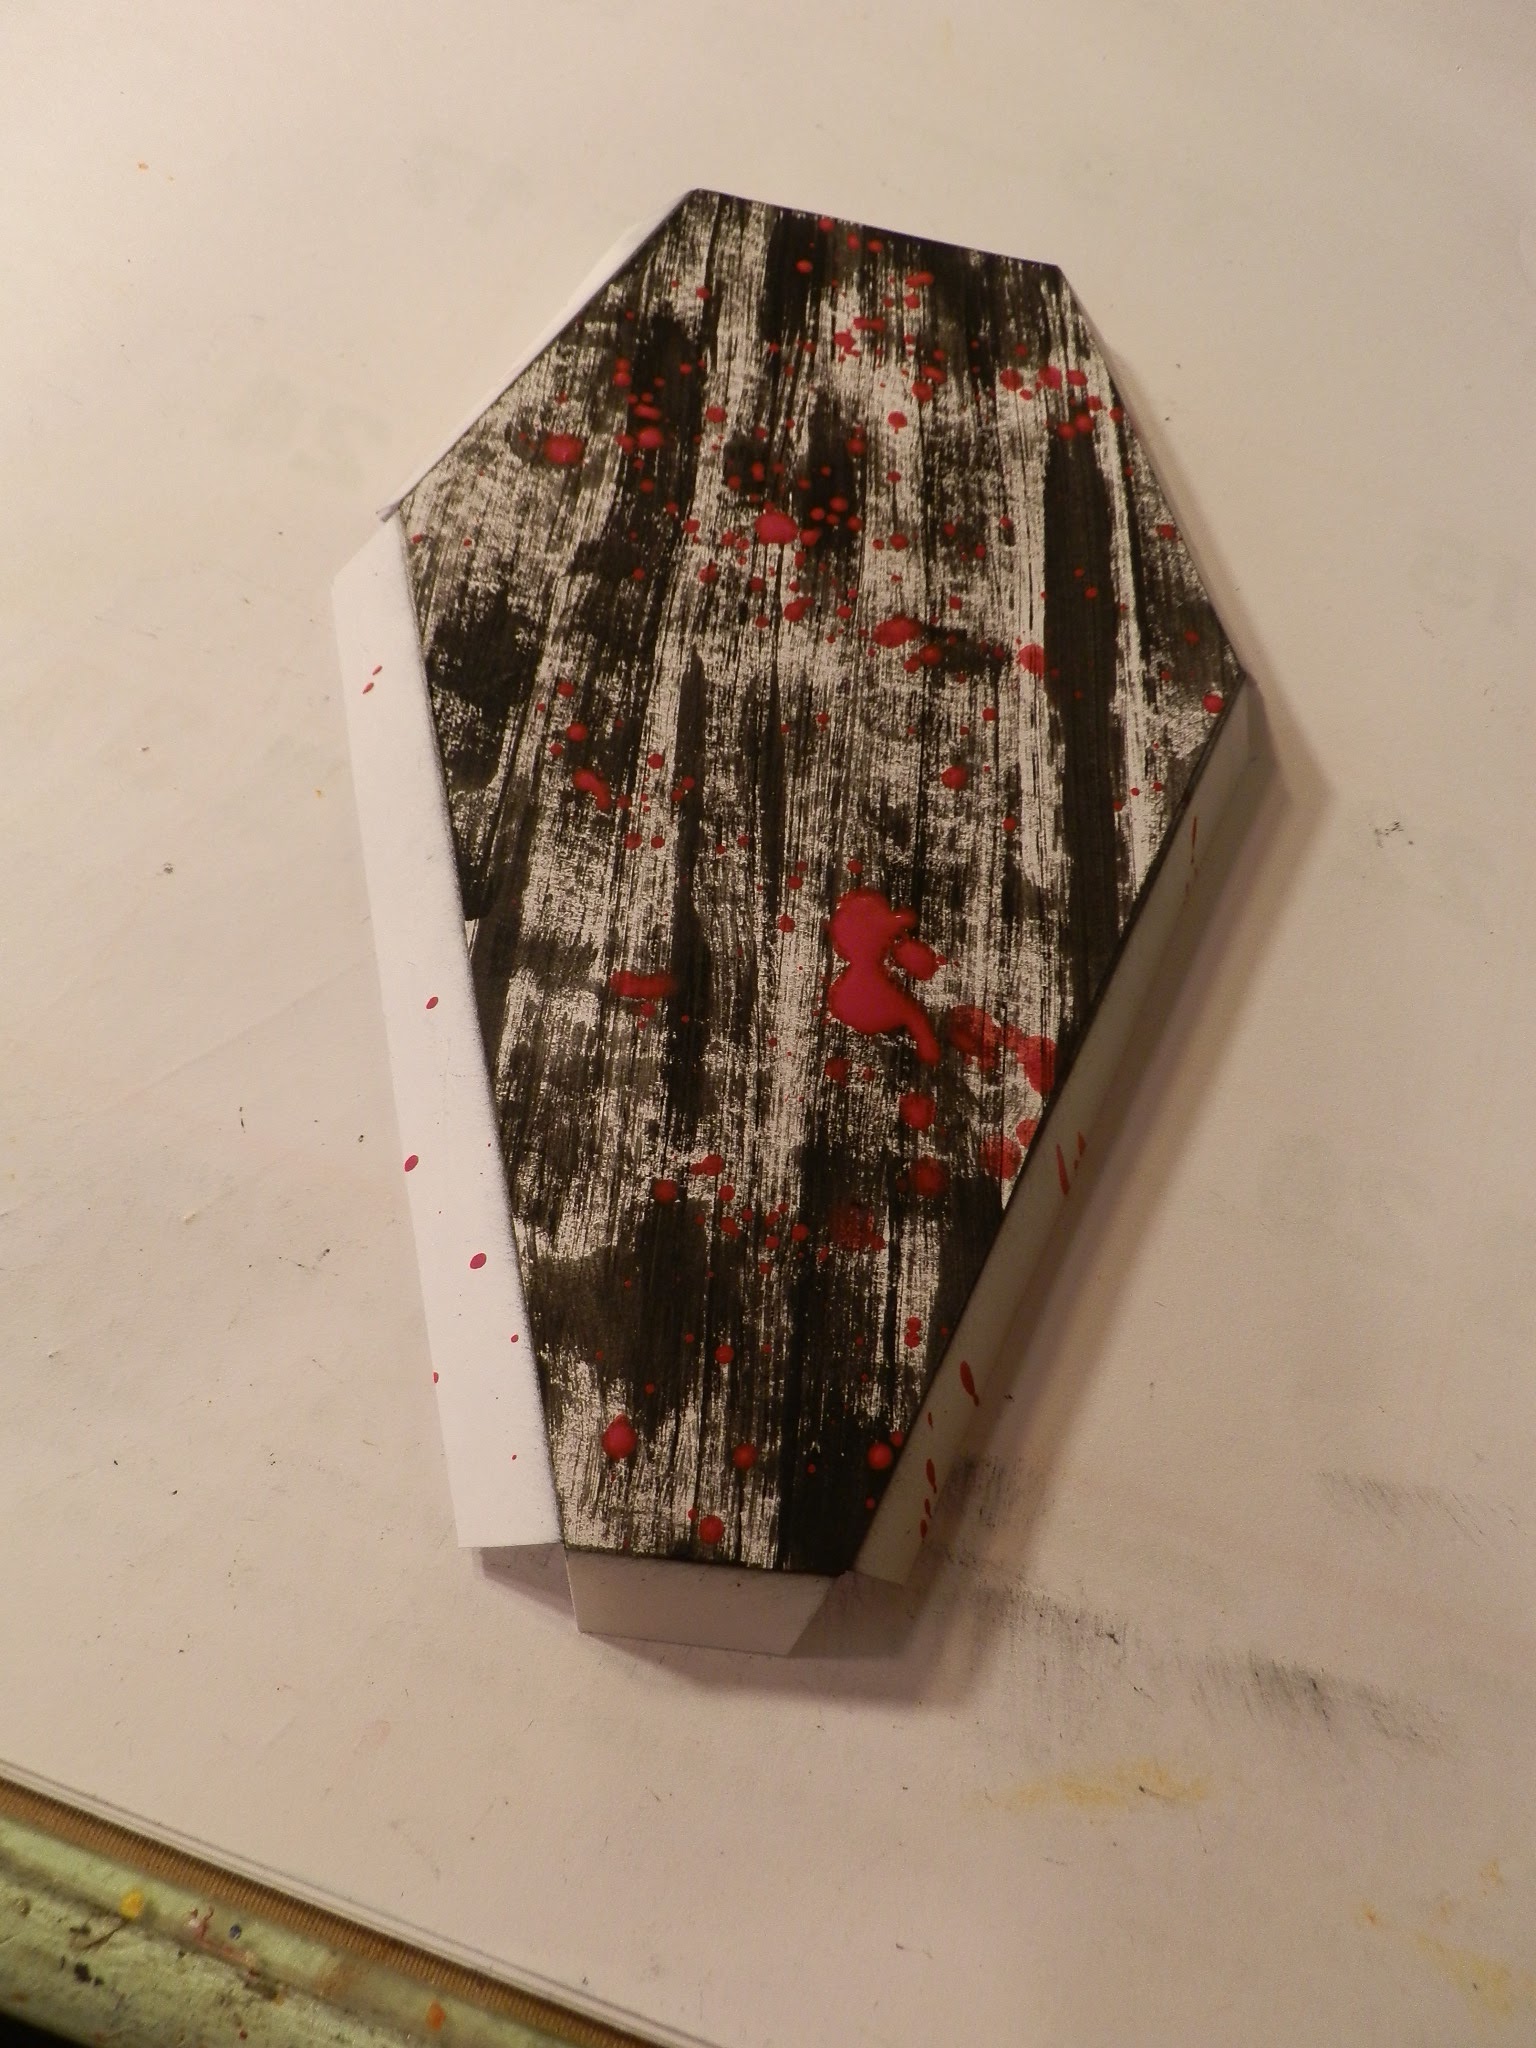
I just painted the background piece and splattered some red paint on it.

I added flaps all around.

This will be the cover for the inside top piece.

My Templates. When I traced it to my cardstock, I added 11/2 inches all around for the lid part. And I added 2 inches for the bottom, since I made my box in one piece.

This is the finished box.

I made my own little ghost.

I painted the number with red paint, then added one layer of UTEE.


Side view.

Inside of the lid. I painted the sides with black paint, before adding the inside cover.


For the bottom, I just added some old book pages.


Renate
