Monday, April 27, 2020
Bookmark.
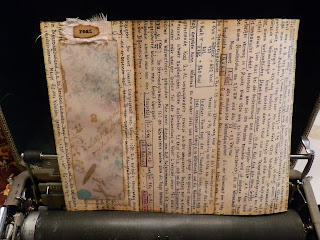
Here you can see the top of my bookmark. Pam at the Paper Outpost has a great tutorial for it.
Here just a close-up.
For mine I made a window, with tracing paper, I stamped on. I also sewed around the window.
This is the back when folded up.
For the inside I added the journaling space. On the bottom I added chalkboard labels. This way you can always write a new word on it with chalkboard markers.
This is the bookmark folded out.
I used a ticket I made and folded it in half, to hold my paperclip, since it wanted to get hung on my back page, of the bookmark. On top I just used some fabric and a word piece I typed.
Thank you for the inspiration.
Renate
Subscribe to:
Post Comments (Atom)


Love the way your bookmark turned out!!:) Bravo!! Pam :)
ReplyDelete