Thursday, April 30, 2020

One more Insert for my Fauxdori.


The front pocket is the #4 envelope tutorial from Angela Kerr. I covered a seed envelope and turned it into a pocket per tutorial. I kinda forgot to sew around the circle, so I just added a faux metal rim. On the left side I just added a border with random words in 3 languages, I typed up.


For the journal card I chose to watercolor doodle and some stamping.


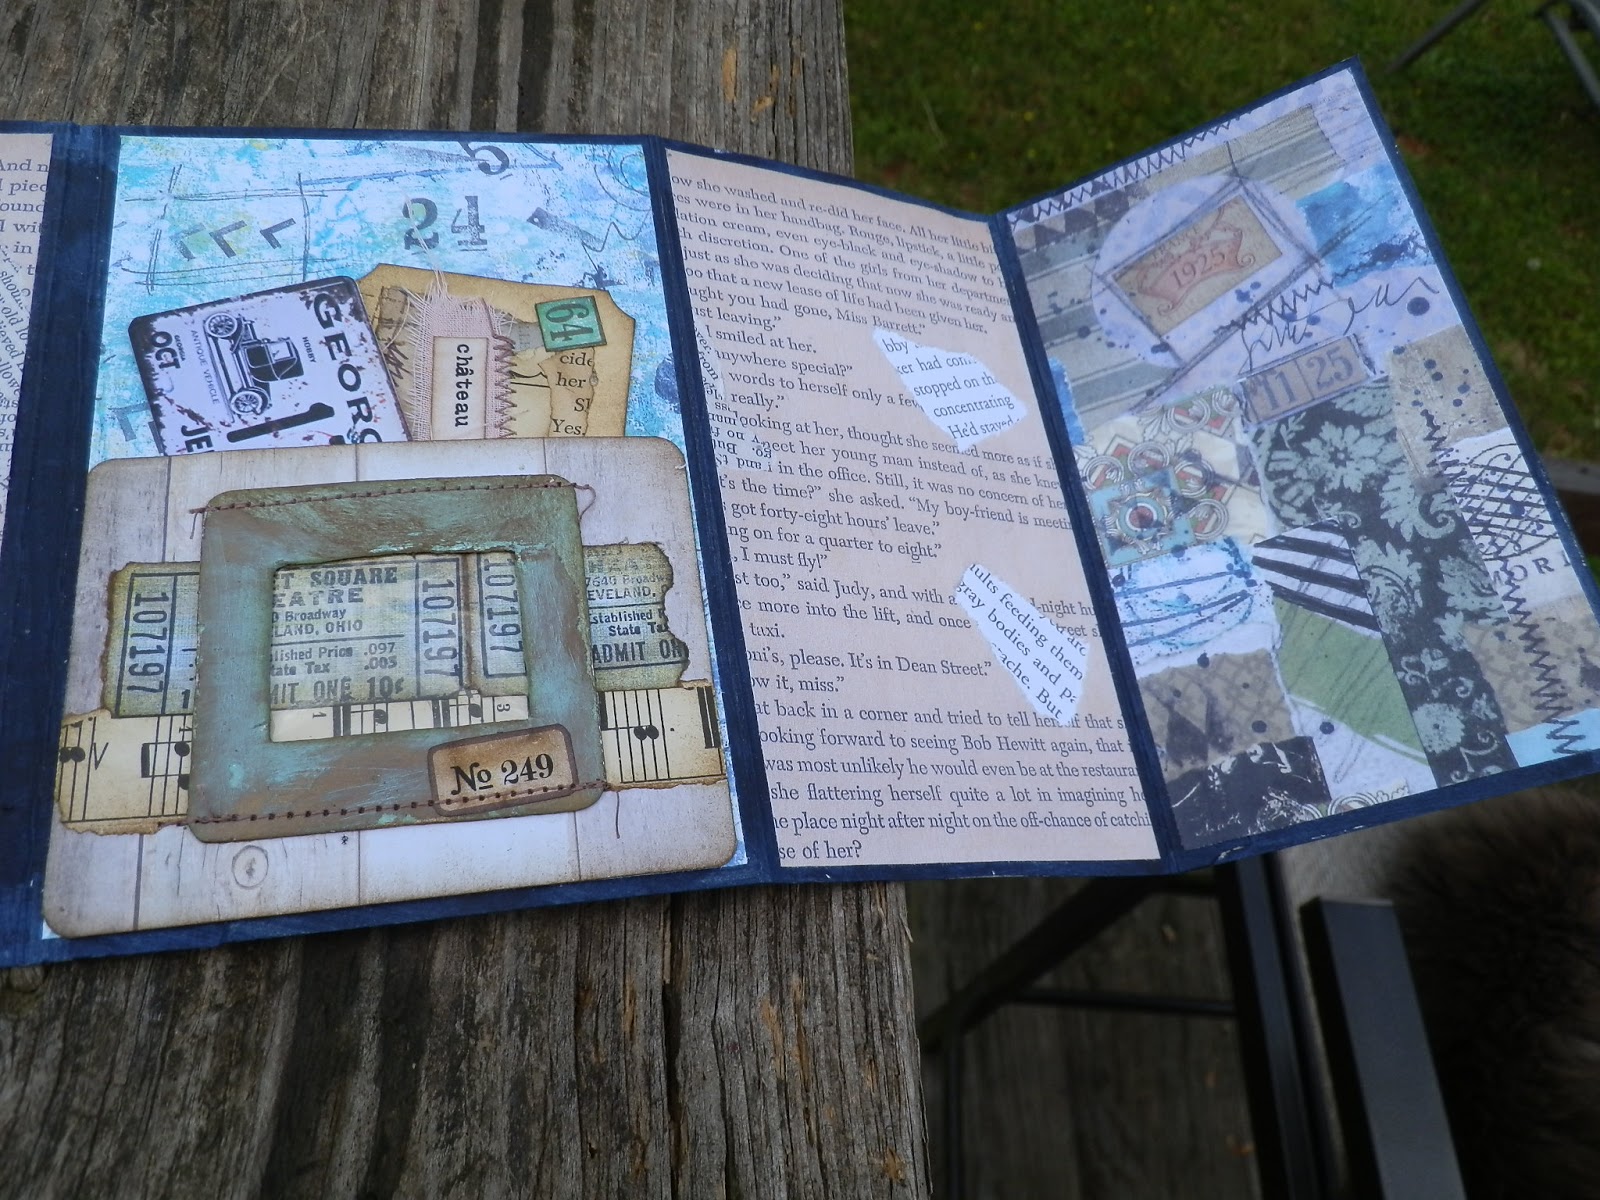
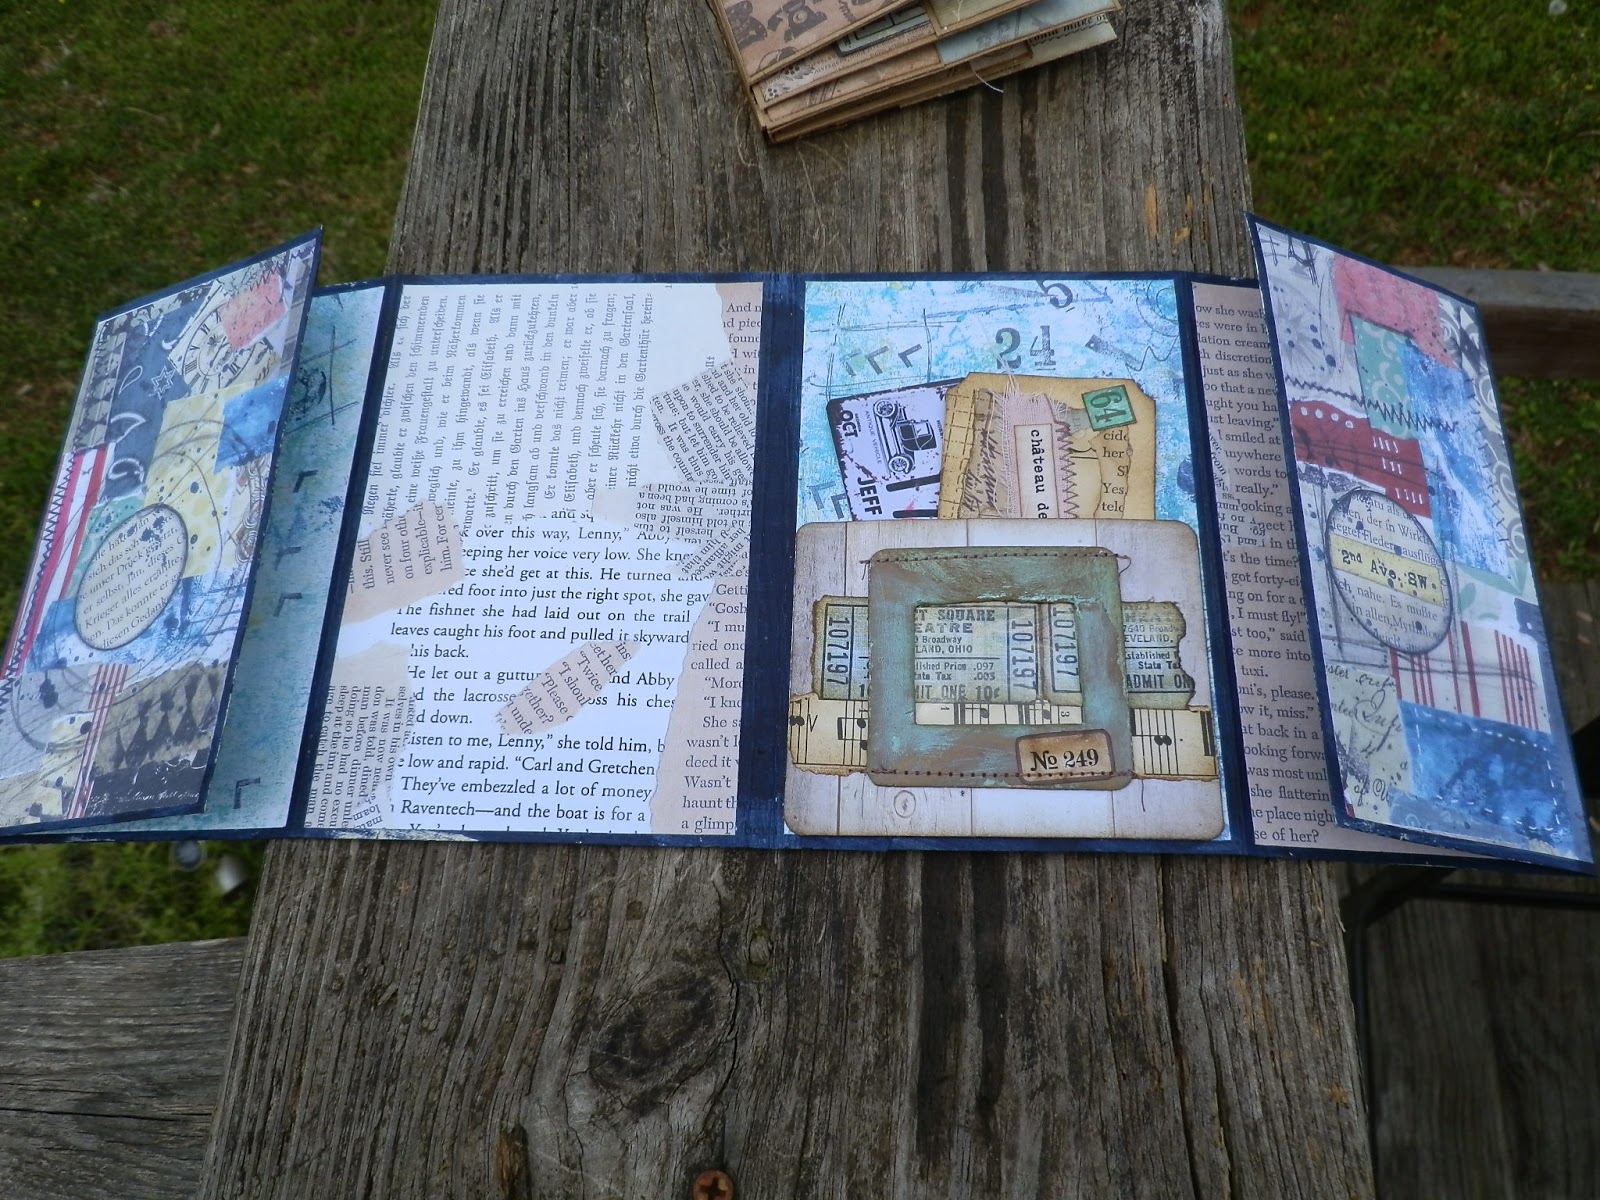
When you open the insert you have a clear acetate pocket on the left, and 2 stacked pockets on the right.

Here is a look at it empty.


These are the journal cards I picked. The center one I made myself.


I had some leftover bits from laminating, which I used to adhere some washi tape to. This way I got some on hand when I need it.

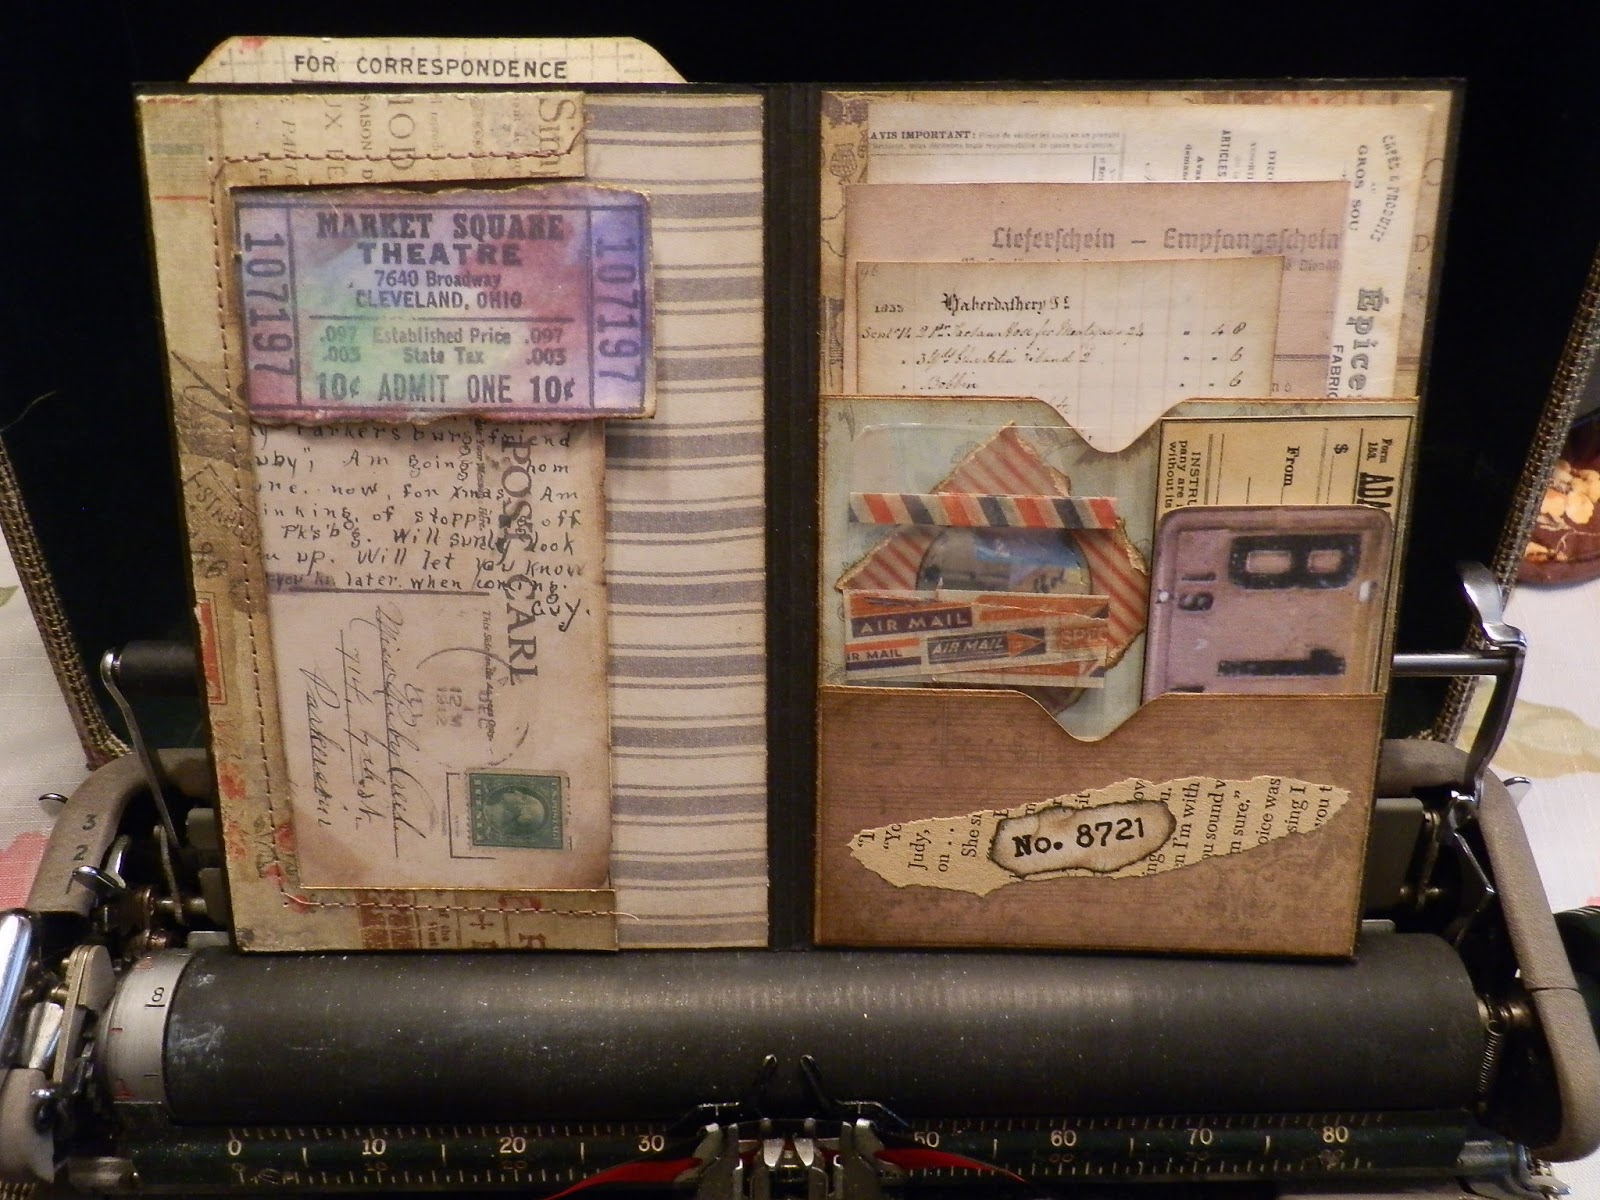
The back is from #9 envelope tutorial, also from Angela Kerr. I like the idea of having an acetate window flip out. On the bottom right, I glued some old stamps I had.


On the inside right I added an envelope, I made with the EPB.


And in the center some coffee dyed paper for journaling.


This was fun to put together. Thanks to Angela for the great ideas.
Renate

Monday, April 27, 2020

Altered Baby Wipes Box.


I needed some more storage space, and I had this baby wipes box. So, why not try and paint it. I used 2 coats of black acrylic paint. Then I scrunched up some plastic wrap, and dabbed on some metallic acrylic paint. After that I did the same with the blue color, but only here and there, I did not want it to overpower the silver. Remember to let each layer dry completely. I sealed it with some Mod Podge.


I just made me a label for the front.


It was a fun project to make, and I got plenty of room for my bigger scraps.
Renate.

Bookmark.


Here you can see the top of my bookmark. Pam at the Paper Outpost has a great tutorial for it.


Here just a close-up.

For mine I made a window, with tracing paper, I stamped on. I also sewed around the window.


This is the back when folded up.


For the inside I added the journaling space. On the bottom I added chalkboard labels. This way you can always write a new word on it with chalkboard markers.


This is the bookmark folded out.
I used a ticket I made and folded it in half, to hold my paperclip, since it wanted to get hung on my back page, of the bookmark. On top I just used some fabric and a word piece I typed.
Thank you for the inspiration.
Renate

More inserts for my Fauxdori.


I made a laminated shaker dashboard for the front of my journal insert.


Here just a close-up. For the background I chose to add a piece of tracing paper that I stamped on. I  closed it on top with washi tape. This way I will always be able to change the content.


On the right is the cover for my journal. I just used up some of my scraps I had, to cover it.


Behind it is the bookmark I made. More on this on the next post.


Then on the left is the back of my journal. On the right is the back page of my shaker dashboard.


I added a pocket insert made with tracing paper. Again I used some that I stamped on. It is sewn to a piece of book page.

And this is the journal card for it.


On the back page of my first insert I added these pockets with journal cards, from a tutorial from Angela Kerr. (Envelopes 7). She used envelopes. I chose to make mine from cardstock.

 
This is what the back page of the insert looks like.


You can fold these pockets out.

I also used round tabs, to pull out my cards.


On the back page of the insert, I added one of my faux teabags, I made. They are faux, because I made mine out of coffee filters.


I collaged the inside back of my Fauxdori with some magazine pages.


For my cover I just painted with water colors. It's still a work in progress.
Renate

Monday, April 20, 2020

Altered File Folder Insert for my Fauxdori.


I just used a navy acrylic color to paint all around the edges of the file folder. I covered it with copies of papers I have painted and different collages I made. Folded up it's also 6x4 inches.


So far I only added One pocket to this folder.


On the right is a ticket journal card I made.


The rest is just all the panels I covered... front and back.


The next few pictures are just how you fold it up.


Front

Back.
Renate