Thursday, May 28, 2020

Perpetual Calendar.


For today's project I decided to make me a perpetual calendar. The cubes are 21/2 inches. I painted the cubes with acrylic paint and crumbled up plastic wrap. I also added some scraps here and there.


For the base I decided on making a crate.


I just typed the days of the week, added some scraps to the background and a mini pin to hold it.


Here just a side view.

On the right side I added a little pocket to hold the "days".


The crate itself was easy to make.


I used my number dies for the cubes. I also added one layer of  UTEE to each number, to give it the "wet" look.


This was a fun project, that I wanted to do for awhile. On my blog are also a perpetual calendars I made for my daughters, if you would like to check it out. ( One is at August 2019)
Rrenate

Tuesday, May 26, 2020

Another insert for my Fauxdori.


For the cover I used some old letter paper and added an acetate window.


On the left side I have one bigger pocket and added just 3 strips on the bottom.


On the right I made a "scrap" pocket. The blue charm I made myself. For both the pockets I used my skeleton tags I made for the inserts.


On the backside I added a "floating" pocket. I've seen the tutorial at "Planning Inspired". I just sewed 2 folded plastic pieces together to give me 3 pockets.


On the bottom right I just made a corner tuck to keep the pocket from flopping around. This is the front view.


Then you flip it out and have the back view.


When you remove all the ephemera, you can see the content from the center pocket. It's the same front or back view. I just paperclipped a tab over the middle pocket, this way you can change what's in it.


This is the ephemera I have in the pockets.


I really liked the idea of having this middle pocket. Thank you for the inspiration.
Renate

Gift Box.


Teri Pocock has a great tutorial, on how to make this unusual box. She has dies to make the top and inside layers. I don't have these dies, so I just made my own template. I added a fold over piece of tracing paper as the pocket. This way I can add some knickknacks on the inside. I sewed all around before I attached it to the top.

 I just added 2 pieces to this pocket.


I added a mini playing card and a number tag I made.


I tied a coffee dyed cheese cloth around the whole box. I used a crumbled up piece of plastic wrap, to apply the paint.

On the left is the bottom, and on the right is the view of the inside lid.


This one measures 21/2 x 5 inches. You come down 3/4 inch. You measure the center and then just draw your line.


This is what you have, after cutting the sides off.


I found it easier, to glue my 2 pieces together. Fold the bottom tabs to the inside.


Add glue to the 1/2 inch perimeter of the piece you gonna lay down on the inside.


Here you can see the bottom of the lid before it's glued down.
For the top piece I made the following changes: Still take a 7x2 piece, then score it at 11/2   3 
61/4 and 3/16th. This way the top fits quite snug. And just use the same measurements for the insert part as above. I know it sounds quite confusing. Let me know if you have any questions.
Renate

2 more tags, using my leftover "skeleton" parts.


For the first tag, I had a "rough" looking piece left over. But I thought this would make a nice side pocket. I painted it with gray and burnt orange.


I picked one of my faux buttons I made, for this cluster.


These are the ephemera pieces I chose for this tag.


I made this tag to fit the mini Rolodex card pocket. My daughter, Sam, got me these mini cards.


Here you can see where I used the leftover skeleton part. On the side I just used my disc punch.
For the tag itself, I just layered a bunch of scrap pieces.


The ephemera I stuffed in this pocket.


These turned out quite nice.
Renate

Thursday, May 21, 2020

Skeleton Tags.


I found the tutorials for these tags at WhichCraftDoYouDo and Charlotte Peterson. The tags they made turned out quite beautiful. I also used dies for some of my tags and some border punches. To get a wider strip from your punch, You punch down one side...


.... then you flip it over and come down the other side. You just have to measure the width of your first row, so the second row matches up.


Perfect match.

I used this method on this tag. I first covered the whole tag with an old German book page. Then I laid the punched border where I wanted it. This way I knew how far I could tear my tag. The border piece I painted with copper acrylic paint, then I just dabbed some black paint lightly over it.


I also used part of the punched out piece as a tab for my fabric.


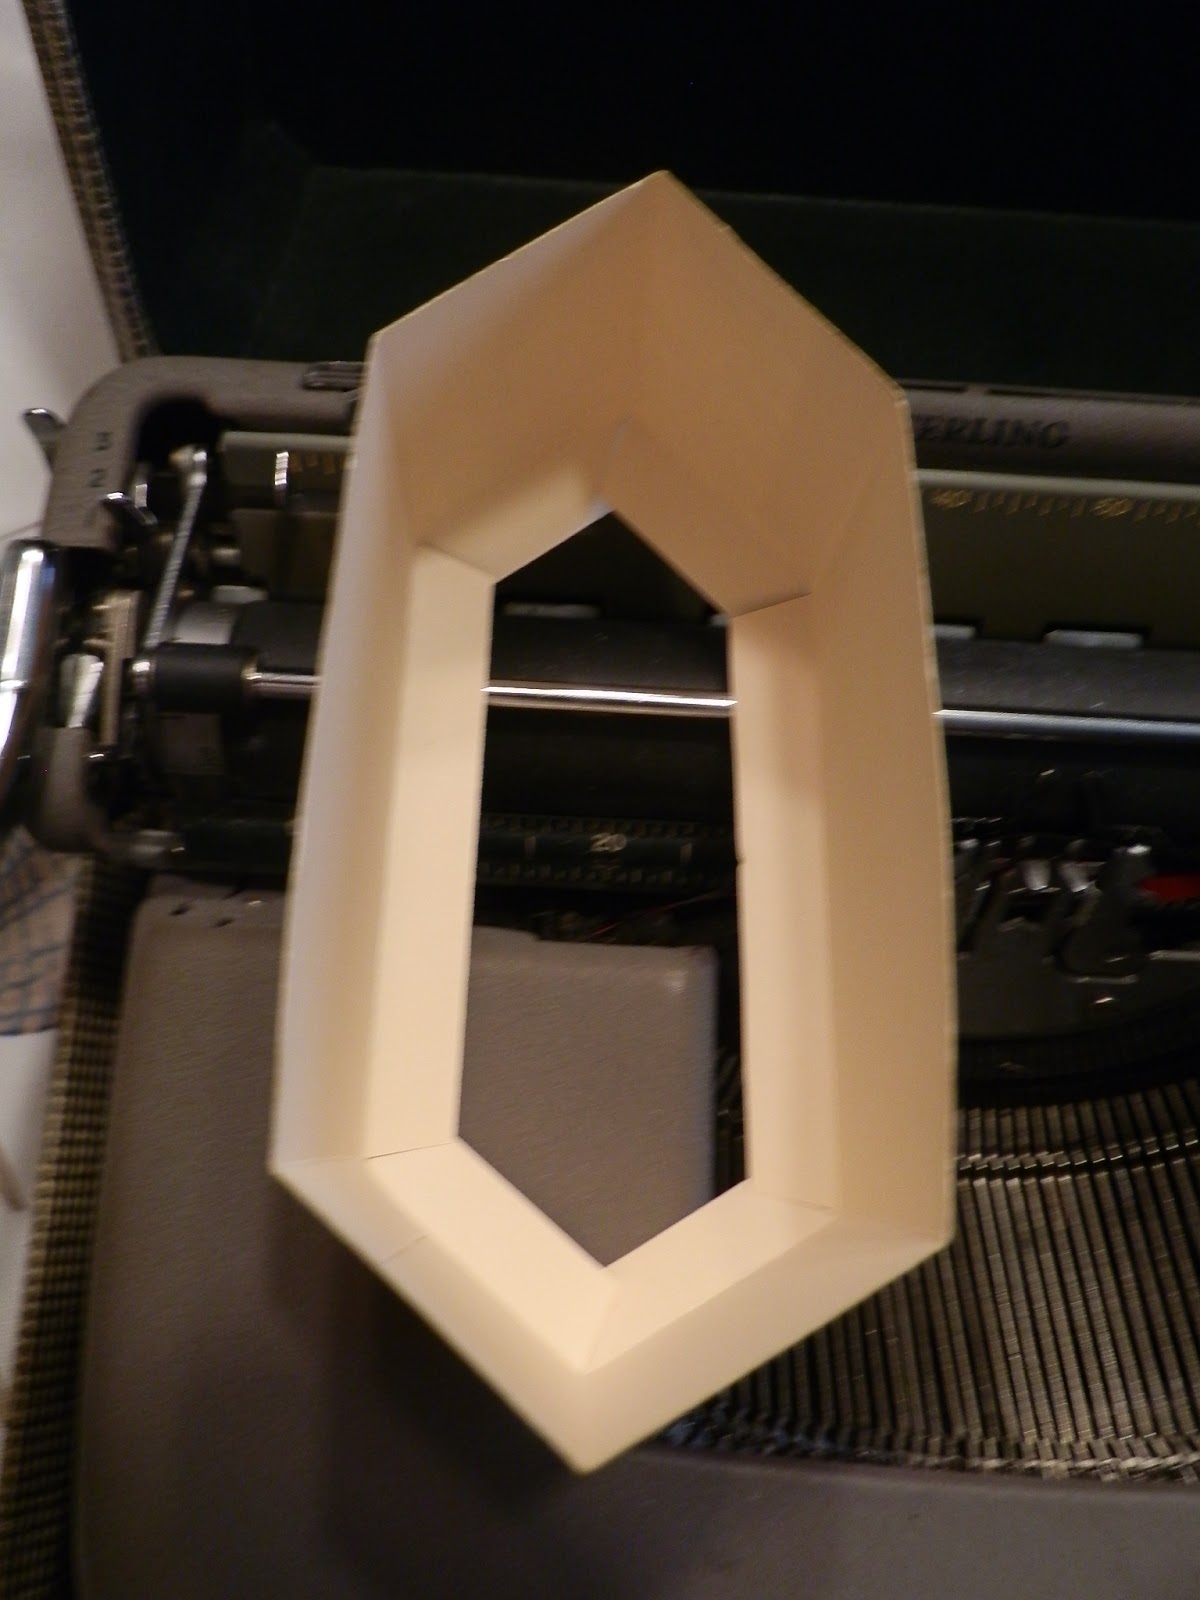
To put it together, I laid a piece of cardstock, the same size as the tag, under it. ( Do not glue the cardstock to your tag. It's just for the assembly). This way it was easier to assemble. Then I just put one layer of UTEE over the whole "skeleton" part, to make it a bit stronger. You will however, put cardstock on the unexposed tag parts.


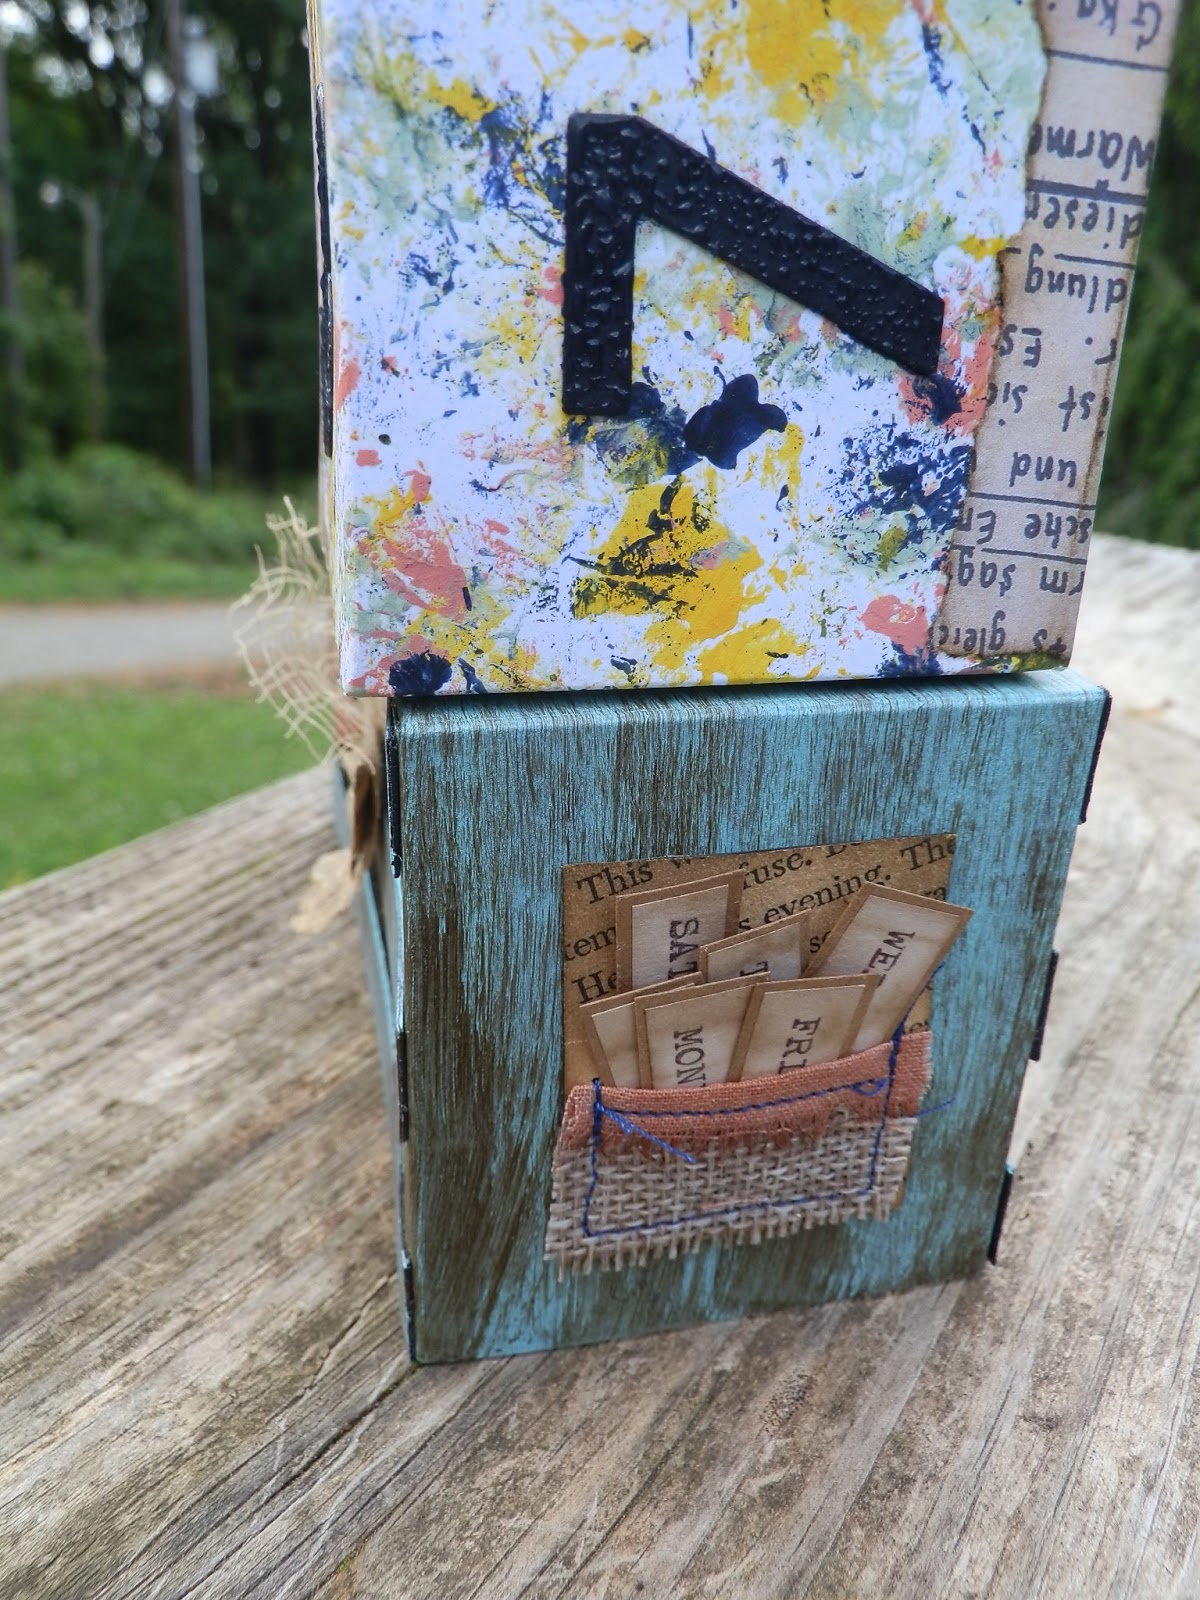
For this tag, I also used a border punch and applied the same method as above. I used some scrunched up plastic wrap and dabbed some navy acrylic paint over it, followed by some light blue color. On the edge of the tear I painted some metallic paint on it.


For this tab, I used leftovers from the above tag.


I also added UTEE to the punched piece.


I don't know why this is so dark, sorry.


For this one I did use a die. The "rusty" background I made with burnt umber, burnt orange and some green. Again I used crumbled up plastic wrap to apply the paint.


For the tab I used part of the die piece.


As with the others, I used UTEE on the die cut.


For these 2 tags I added a background.


You can make these any way you want. They are quite sturdy, because you add another piece of cardstock to the unexposed parts of the tag. I just think a layer of UTEE makes the exposed pieces a bit stronger. Thanks to the Ladies for the inspiration.
Renate